
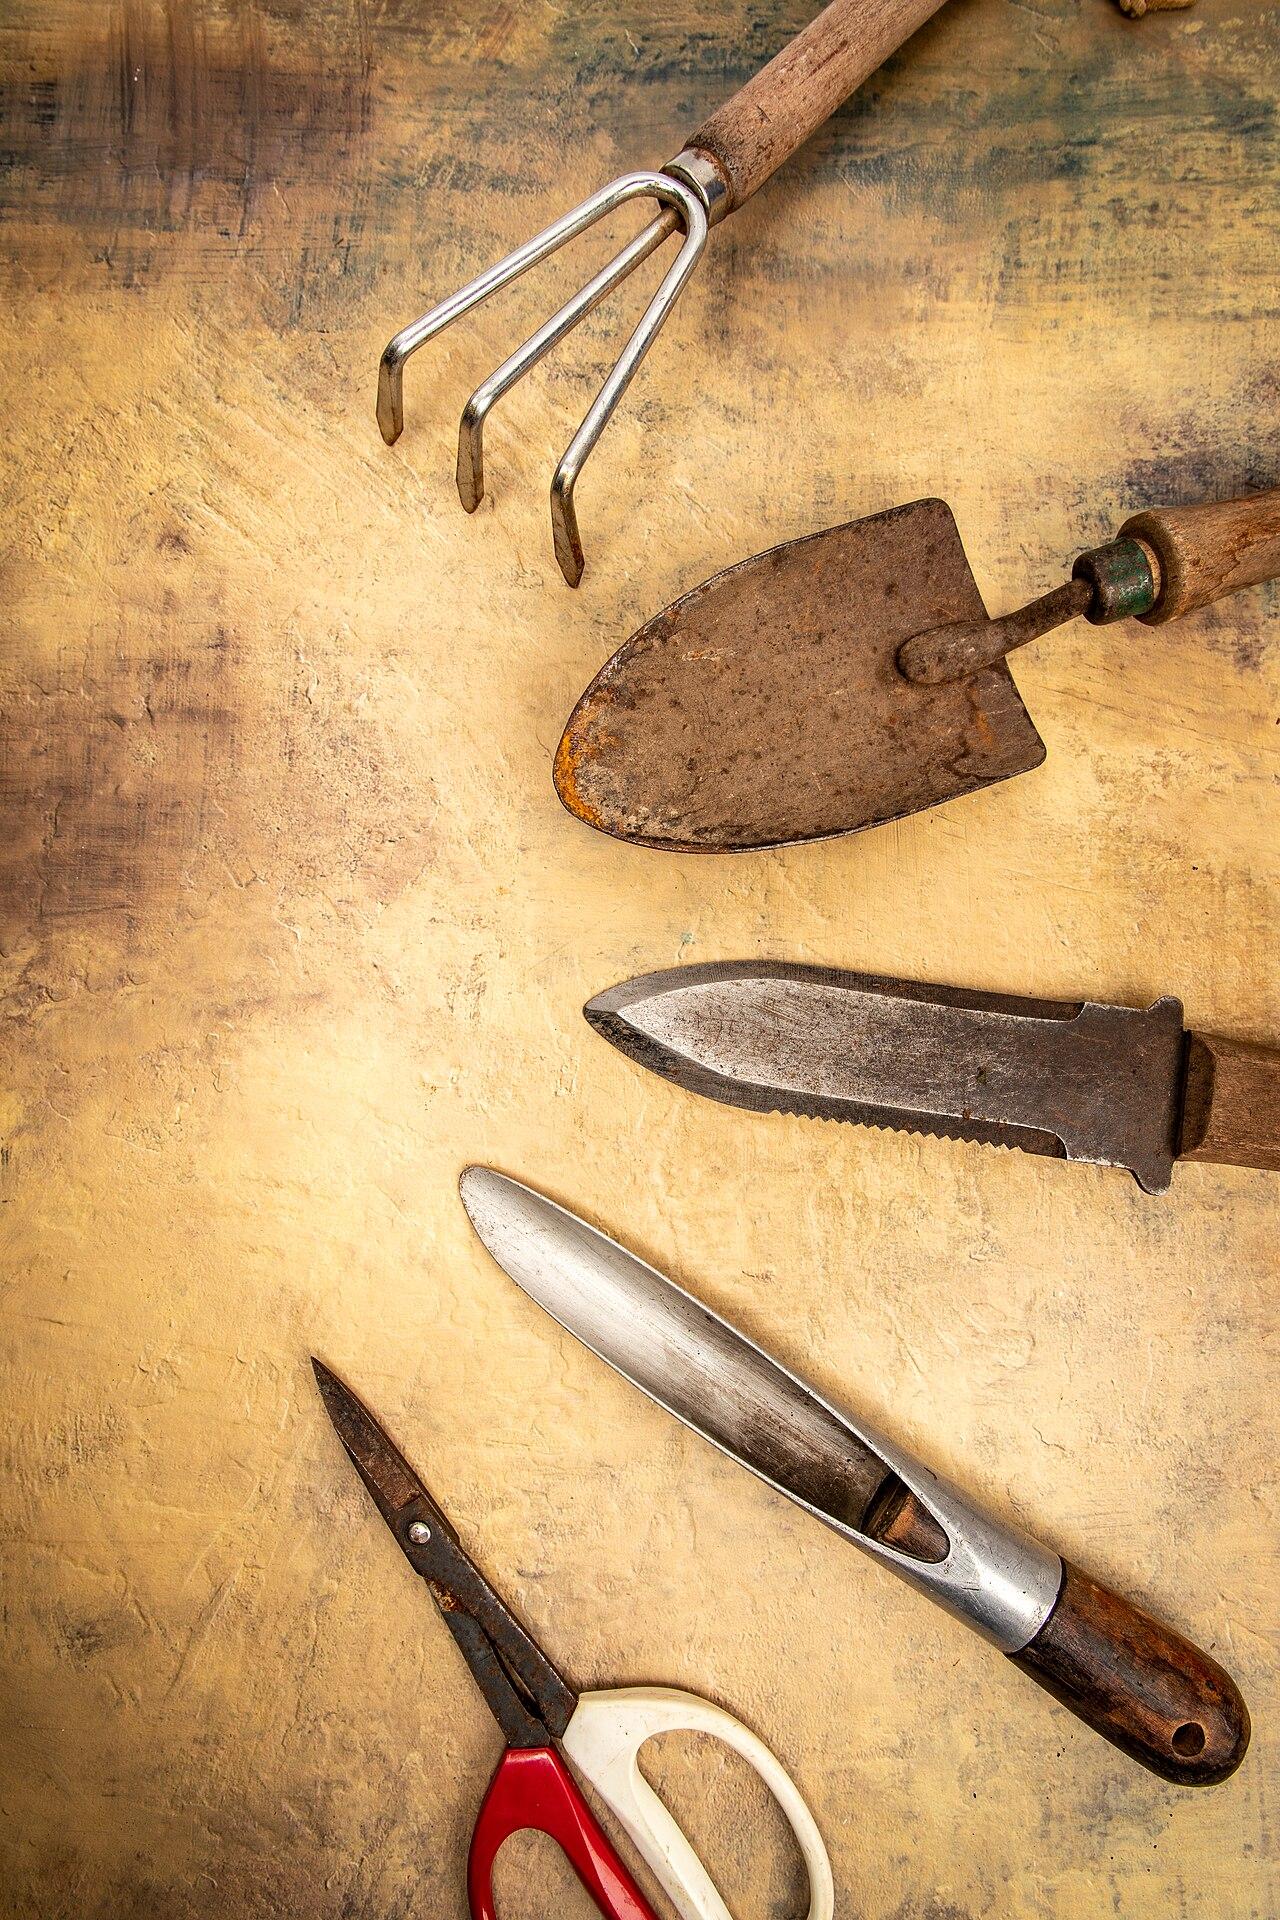
To remove rust from an ordinary steel hand tool, first check that the tool is still sound, clean away dirt and grease, then use a suitable mechanical method or a labeled rust-removal product. Finish by drying and protecting the surface. Removing the orange coating does not replace metal that corrosion has already consumed.
The right approach depends on the whole object, including handles, paint, plating and moving parts. This guide focuses on assessing small household tools and metal items. It is not a repair procedure for structural steel, vehicle brakes, electrical equipment or load-bearing hardware. Those uses require a decision about fitness for service, not just appearance.


Inspect the object before choosing a treatment
Rust can hide more than discoloration. Look for flaking layers, holes, deep pits, distorted edges and cracks before starting. The Canadian Conservation Institute’s iron-care guidance explains that moisture and salts accelerate corrosion and that actively corroding historic objects can be fragile. Its conservation advice also treats original coatings and attached materials as part of the object, not something to strip away casually.
Photograph the item and note how it is assembled. A rusty tool with an intact plastic handle presents a different problem from a painted antique with a loose wooden grip. If a piece is valuable or historically significant, consult a conservator before removing its surface. Bright bare metal is not the correct goal for every object.
For an everyday item, decide what successful cleaning would mean. Perhaps the goal is a smooth, usable wrench or a metal bracket ready for refinishing. If the part must support weight, contain pressure or perform a safety function, get qualified advice or replace it when corrosion has affected its integrity.


Prepare a small, controlled workspace
Work on a surface that will not be damaged by the chosen product. Keep children, pets, food and drinks away. Read the full product label before opening the container, including requirements for ventilation, protective equipment, compatible materials and disposal. “Water based” does not mean a cleaner is suitable for bare skin or every household surface.
Gather a soft brush, clean cloths and an appropriate container if the method involves soaking. Use a container intended for the chemical and label it clearly; never use a drinking cup or food-storage container that could later be mistaken for something edible. Handle sharp or corroded edges with care.
Remove loose dirt and grease as directed by the treatment manufacturer. Cleaning first makes it easier to see where the rust actually is. Keep unrelated cleaners out of the process, and never combine products to make a supposedly stronger solution.


Choose between abrasion, soaking and an applied remover
For ordinary hand tools, WD-40’s hand-tool guidance describes brushing or sanding for some rust problems and a dedicated rust-remover soak for tougher cases. A wire brush or abrasive can also scratch a finish, so match the method to a surface where that change is acceptable. Start gently and inspect often.
A soak makes sense only when the part can safely be immersed and the product is compatible with every material that will enter the bath. Wooden handles, electrical components, labels and some finishes may rule it out. A product applied to a localized area can offer more control, but it still needs careful containment and the correct removal procedure.
Do not assume products with similar names work the same way. A penetrating lubricant, a rust dissolver and a rust converter have different purposes. Choose the specific product based on the item and the intended finish, then follow its current label rather than transferring instructions from another bottle.


Follow the selected product’s timing and cleanup instructions
As one example, Rust-Oleum’s Rust Dissolver Gel directions call for testing an inconspicuous area, removing grease and loose rust, keeping the treatment wet during removal, then rinsing and drying as specified. The product contains phosphoric acid and its instructions require adequate ventilation and avoiding eye and skin exposure. Those details apply to that product; they are not universal directions for every remover.
Set a timer for the label’s inspection interval. Do not leave an unfamiliar treatment unattended overnight because another person reported success doing so. If the first application does not remove all the corrosion, inspect the remaining surface and follow the label’s repeat-treatment guidance rather than escalating to a stronger mixture.
Keep the waste and used cloths contained while you finish. Dispose of them according to the product label and local requirements. Do not assume a spent bath can go down a drain simply because the original product was advertised as reusable or water based.


Check the cleaned metal before returning it to use
Once the item is clean and dry, inspect it again in good light. Rust removal may reveal pitting that was previously difficult to see. A smooth color change and a deep cavity are different findings. Cleaning cannot fill missing metal, restore a weakened thread or rebuild a thin cutting edge.
Check moving parts according to the equipment maker’s instructions. Do not force a seized joint with an improvised extension, and do not treat a newly moving part as proof that the assembly is safe. For a bicycle, for example, a chain’s condition and wear require more than a quick visual check after cleaning.
If the damage is beyond ordinary maintenance, stop. Replacing a small corroded fastener can be more sensible than spending hours making it look better while remaining uncertain about its strength. Save restoration experiments for items whose failure would not create a hazard.


Protect the surface and address the moisture source
Bare metal needs an appropriate finishing plan. The WD-40 rust-remover product page identifies its soak as a treatment for corroded tools and metal parts; removal is only one stage of maintenance. Choose a protective oil, coating or paint system suitable for the item’s use and follow the relevant manufacturer’s directions.
Do not apply a general workshop oil to food-contact equipment or a surface that will later be painted unless its instructions explicitly allow it. Residue can interfere with the next step. Likewise, drying time before painting depends on the remover and coating system, so use their instructions together rather than guessing.
Look for the reason the rust appeared. A damp drawer, wet tool bag, outdoor exposure or water trapped beneath a cover can undo the cleaning work. Dry tools before storage, keep them out of standing water and inspect vulnerable items periodically. Prevention is easier when the storage location makes dry handling convenient.


Common questions about rust removal
Can vinegar remove rust? It can react with rust, but that does not make it suitable for every alloy, finish or assembled object. This guide does not prescribe a universal vinegar soak because concentration, exposure and material compatibility matter. A labeled product or the item maker’s own maintenance instructions provides a clearer starting point.
Why did rust come back quickly? Residual moisture, contamination or an unprotected surface may be involved. Repeating removal without changing the storage or finishing conditions can create the same problem again. Review the entire process, including drying and protection, before choosing a more aggressive treatment.
Should silver be treated the same way? No. Silver tarnish and rust on iron call for different decisions. See our guide to gentle silver care for household silverware, plated objects and delicate heirlooms.
Tools and supplies for this guide
As an Amazon Associate I earn from qualifying purchases.
OXO Good Grips Deep Clean Brush Set
Use a cleaning brush to loosen ordinary dirt around tool handles and joints before assessing rust. Choose a rust-removal method separately according to the metal and its condition.
View OXO Good Grips Deep Clean Brush Set on Amazon (paid link).
Leave a Reply