
Choose a binder clip that opens comfortably around your entire paper stack without forcing its jaws apart. Test it on the actual papers, including covers and inserts, rather than judging only by the width of the clip’s metal body.
Start with the packet, not the size label
Square the stack on a clean, flat desk. Add the cover sheet, envelope or folded insert that will travel with it. A twenty-sheet packet made from thin paper is not the same thickness as twenty sheets of heavy card, so a sheet-count estimate is only a starting point.
Compare the clip’s opening with the stack thickness. If a package lists a capacity, stay within it. Choose the smallest clip that opens around the packet easily and grips it securely. Do not pry a clip farther open with a tool.
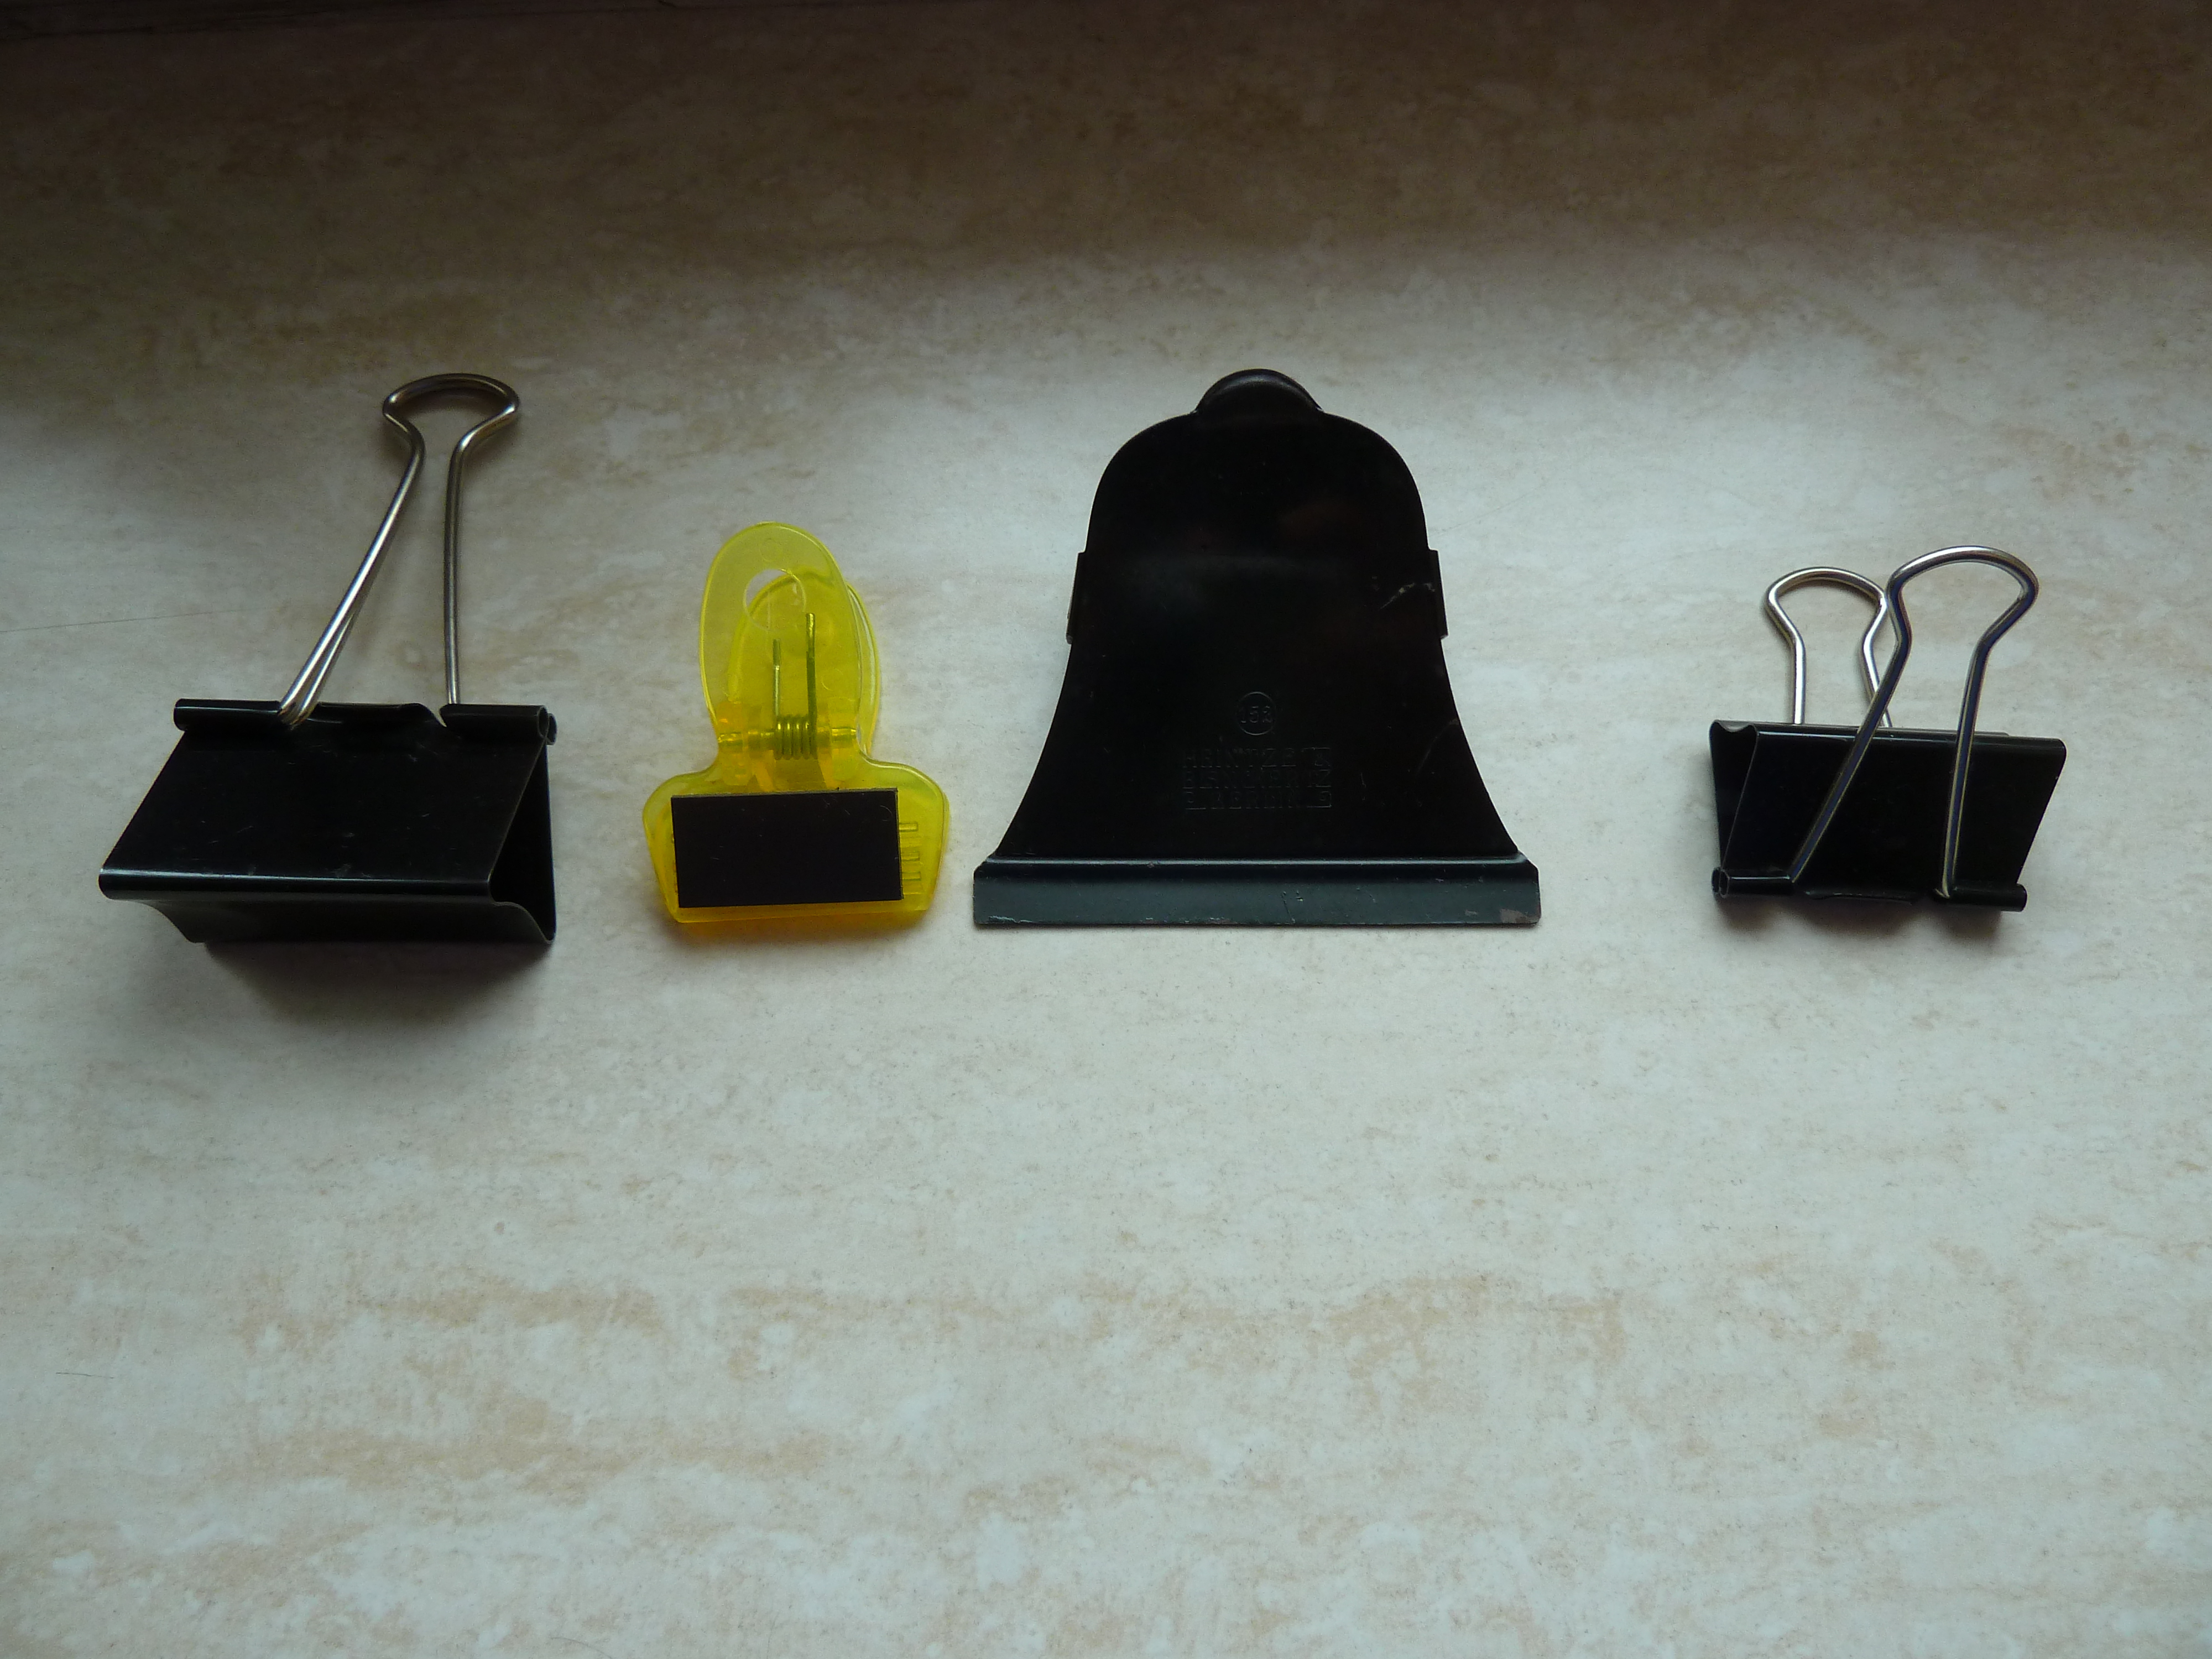
Test the grip over your desk
Open the handles and slide the jaws over the full packet, not just the top few sheets. Keep fingers away from the closing jaws. Release the handles slowly, then lift the packet a little above the desk while supporting its lower edge.
If individual pages slip, set the packet down, square it again and reposition the clip. A worn clip, an uneven stack or a clip that catches only part of the packet can all cause trouble. Do not assume that choosing the largest clip will solve every slipping problem.
For example, a cover sheet may be slightly wider than the pages underneath. Align the edges where the clip will sit before attaching it, so the jaws grip every sheet.
Choose a position that lets you read
For a packet you need to turn through, try the upper-left corner. Keep the jaws clear of headings and page numbers. For a wide packet that stays flat, the top edge may be more convenient. Test the first few page turns before putting it in a bag.
Fold the wire handles back against the packet when storing it, if that clip’s design allows. Keep the handles attached when you will need to remove the clip regularly. On clips with removable handles, taking them off reduces bulk but makes reopening less convenient.

Check the papers before filing
Look for dents, rust or rough edges. Replace a clip that marks ordinary working papers. Keep spare clips in a divided tray by size, so you can find one without testing a handful.
This method is for everyday working papers. Do not assume a household binder clip is suitable for long-term preservation of photographs, fragile originals or irreplaceable documents. Use appropriate protective folders or enclosures rather than clamping valuable material.
Common questions
Can I use two small clips instead of one larger clip? Sometimes, especially along a wide edge. Each clip must still grip the entire thickness at its position. Two undersized clips do not make an over-thick packet fit. Check that the packet opens comfortably.
Is body width the same as holding capacity? No. Body width describes one dimension of the clip; capacity concerns the stack it can hold. Use the manufacturer’s stated capacity when supplied, then test your actual papers.
Should I remove the handles? Only if the design allows it and reduced bulk matters more than easy removal. Keep the handles nearby; do not resort to improvised tools to reopen the clip.
For a larger paper-organizing project, see how to organize a recipe binder you will actually use.
Leave a Reply