
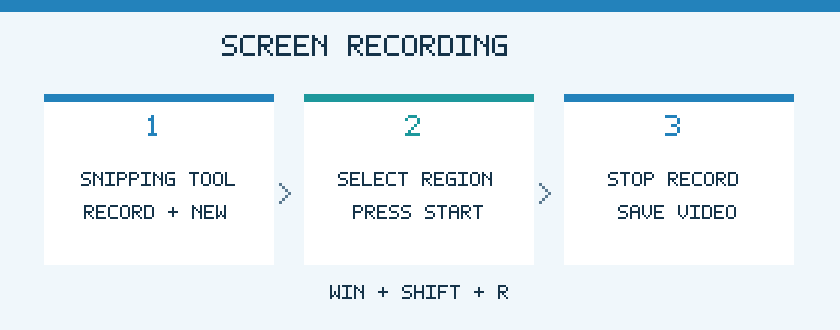
On supported Windows 11 versions, open Snipping Tool, select Record, choose the part of the display you want to film and start recording. The keyboard shortcut Windows + Shift + R opens the video-capture overlay on supported systems.

Record a specific region
Open Snipping Tool from Start and choose Record, then New. Drag a rectangle around the area to capture, confirm its position, and select Start. Perform the action you want to demonstrate, then stop the recording and save it to a folder.
What gets captured
Snipping Tool records a selected region of the screen rather than a complete interactive application. Audio options can differ by app version and privacy permissions. Make a five-second test and play it back before recording a long tutorial.
If the Record option is missing
Check whether you are using Windows 11 and whether Snipping Tool is updated through Microsoft Store or the operating system. Windows 10 has older Snipping Tool functionality that does not match every Windows 11 feature.
Share safely
Close unrelated windows and mute sensitive notifications before starting. Review each frame for passwords, account details and personal conversations. Save the original privately and share only the edited clip you intend.
Frequently asked questions
Is a screen recording the same as a screenshot? No. A screenshot is a still picture; a screen recording captures a sequence of frames as a video.
Where are recordings saved? Check the save location shown by Snipping Tool; supported versions can use the Videos > Screen Recordings folder.
Leave a Reply