
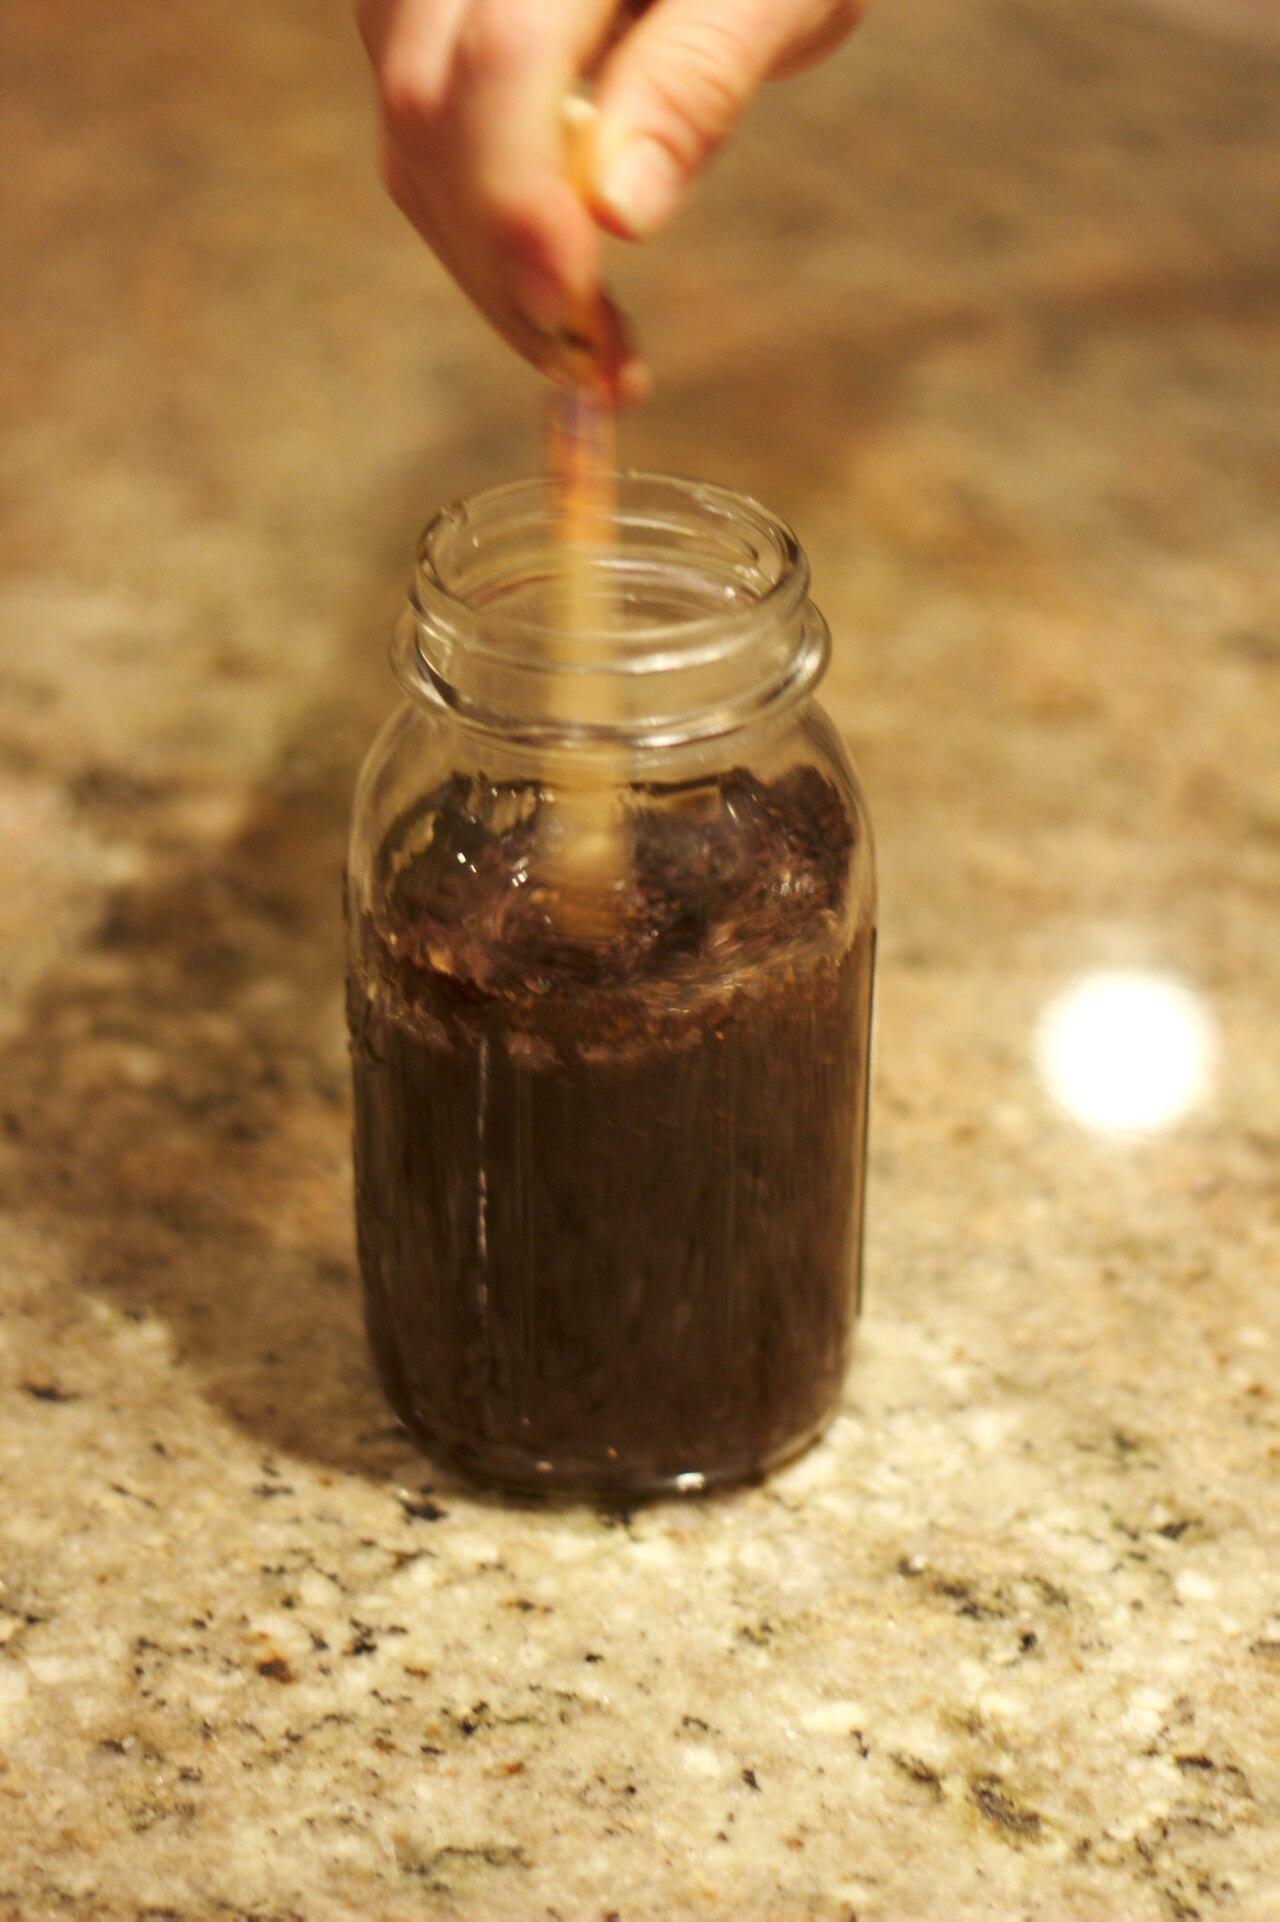
To make cold brew, combine coarse-ground coffee with cold water, cover and steep in the refrigerator, then strain out the grounds. Start with 100 g coffee and 800 g water for a concentrated batch. Check the flavor after 12 hours and allow up to about 24 hours as needed. Dilute a small serving to taste before deciding whether the batch needs longer.


Cold brew and iced coffee are different
Cold brew extracts coffee without a hot brewing stage. Iced coffee is usually brewed hot and cooled or poured over ice. Both can be refreshing, but their preparation schedules differ: cold brew needs planning ahead, while a hot-brew method can produce a cold drink much sooner. For hot brewing ratios and techniques, see our coffee brewing guide.
This guide uses refrigerator steeping rather than leaving the jar on a warm kitchen counter. The photos illustrate equipment and stages; they do not document a tested batch of the exact formula below. A jar, scale and filter are enough to start. You do not need a dedicated cold-brew appliance to find out whether you enjoy the method.
A simple starting ratio
| Small batch | 50 g coffee + 400 g water |
| Standard batch | 100 g coffee + 800 g water |
| Brewing ratio by weight | 1 part coffee : 8 parts water |
| Steeping window | About 12–24 hours, refrigerated |
| First dilution test | Equal volumes concentrate and water; adjust |
The weight ratio describes dry coffee and brewing water, not the volume of the finished drink. Grounds retain some water, so 800 g water will not produce 800 mL of strained coffee. Leave room in the brewing container for the grounds and stirring. Use a larger jar if the mixture approaches the rim.


Choose beans you enjoy
Begin with a coffee you already like rather than assuming that a special cold-brew label is essential. Roast, origin and freshness all affect flavor. A medium roast can be a useful starting point, but there is no universal best bean. Try a small batch before committing a large bag to a new method.
Keep a short note of the bean, roast and brew date. If the result is too roasty or bitter, changing the coffee may help more than adding another hour to the steep. Decaffeinated beans are an option too; the preparation is similar, although decaf does not mean absolutely caffeine-free.


Grind coarsely and consistently
Use a coarse grind rather than espresso powder. Very fine particles are harder to remove and can make filtering slow or leave sediment in the glass. A burr grinder gives you a repeatable setting. If a shop grinds the beans, tell the staff you plan to make an immersion cold brew and filter it afterward.


There is no precise visual size that fits every grinder. The important habit is consistency: use the same setting for the first few batches, then adjust deliberately. If the brew tastes muddy, improve filtration before blaming steeping time. If it tastes weak even before dilution, revisit the dose and grind.
Mix the coffee and water
Wash the jar, lid, spoon and receiving container thoroughly. Add the weighed coffee, pour in cold drinking water and stir gently until there are no obvious dry pockets. Scrape dry grounds from the sides back into the liquid. Cover the container and place it in the refrigerator.


Use water that tastes pleasant on its own. Strong odors in water can carry into the drink. Label the jar with the start time so you do not have to guess the next morning. Keep dairy, sweeteners and flavorings out of the main brewing jar; add them to individual servings after filtering.
Steep cold, then taste a sample
Cold extraction takes time. Starbucks describes a broad 12–24-hour cold-steeping window, but the exact result depends on grind, ratio, beans and temperature. At the first check, filter a spoonful or small sample and dilute it before tasting. A concentrate can seem overly strong even when it will make a balanced drink.
Use a refrigerator thermometer and keep the refrigerator at 40°F or below. Minnesota’s retail food guidance treats cold brew as a food requiring temperature control and requires cold brewing and storage at 41°F or below for those businesses. This home guide uses the more conservative refrigerator setting rather than presenting room-temperature steeping as the default.


Filter without forcing the grounds
Pour through a clean fine strainer to remove most grounds, then through a paper coffee filter if you want a clearer drink. Support the filter in a suitable dripper or strainer over a stable container. Pour gradually and let gravity do the work; overfilling or squeezing can spill coffee or push fine sediment through.


A French press can separate larger grounds, but its metal screen may leave more fine material than paper. If you use one, pour the coffee out after plunging instead of storing it on the grounds. If a paper filter clogs, replace it and continue rather than tearing or pressing it.
Dilute and serve
Mix a small amount of concentrate with an equal volume of cold water as a first taste test. Add more water if it is too strong, or use less next time if it is thin. This is a starting point, not a required ratio for every brew. Ice and milk also dilute the coffee, so taste the complete drink before sweetening.
Liquid sweetener blends more readily into a cold drink than a spoonful of dry sugar. Add it in small amounts. For a creamy drink, add chilled milk or your preferred alternative to the glass. Avoid estimating caffeine from flavor: a smooth-tasting coffee is not necessarily low in caffeine.
Storage and troubleshooting
Keep the strained coffee covered and refrigerated, mark the date and make batches small enough to use promptly. Minnesota’s retail guidance uses a seven-day date mark for its controlled process; that is not a guarantee that every home preparation remains safe for seven days. Do not treat homemade cold brew as a shelf-stable bottled product.
Too strong? Dilute the serving. Too weak? Check whether you added too much serving water before changing the brew. Gritty? Use paper filtration. Harsh? Try a different coffee or a shorter steep on the next batch. Change one variable at a time and record the result.
Serve with banana bread or waffles. Keep the concentrated batch separate from milk-based servings so everyone can choose their own strength.
Sources
Method references: Starbucks Mason-jar cold brew; Starbucks: cold brew versus iced coffee. Temperature-control context: Minnesota Department of Agriculture; University of Minnesota Extension refrigerator guidance.
Tools and supplies for this guide
As an Amazon Associate I earn from qualifying purchases.
Hario Mizudashi Cold Brew Coffee Maker
A dedicated cold-brew pot keeps the coffee and filter together during refrigerator steeping. Follow its capacity and cleaning instructions.
View Hario Mizudashi Cold Brew Coffee Maker on Amazon (paid link).
Leave a Reply