
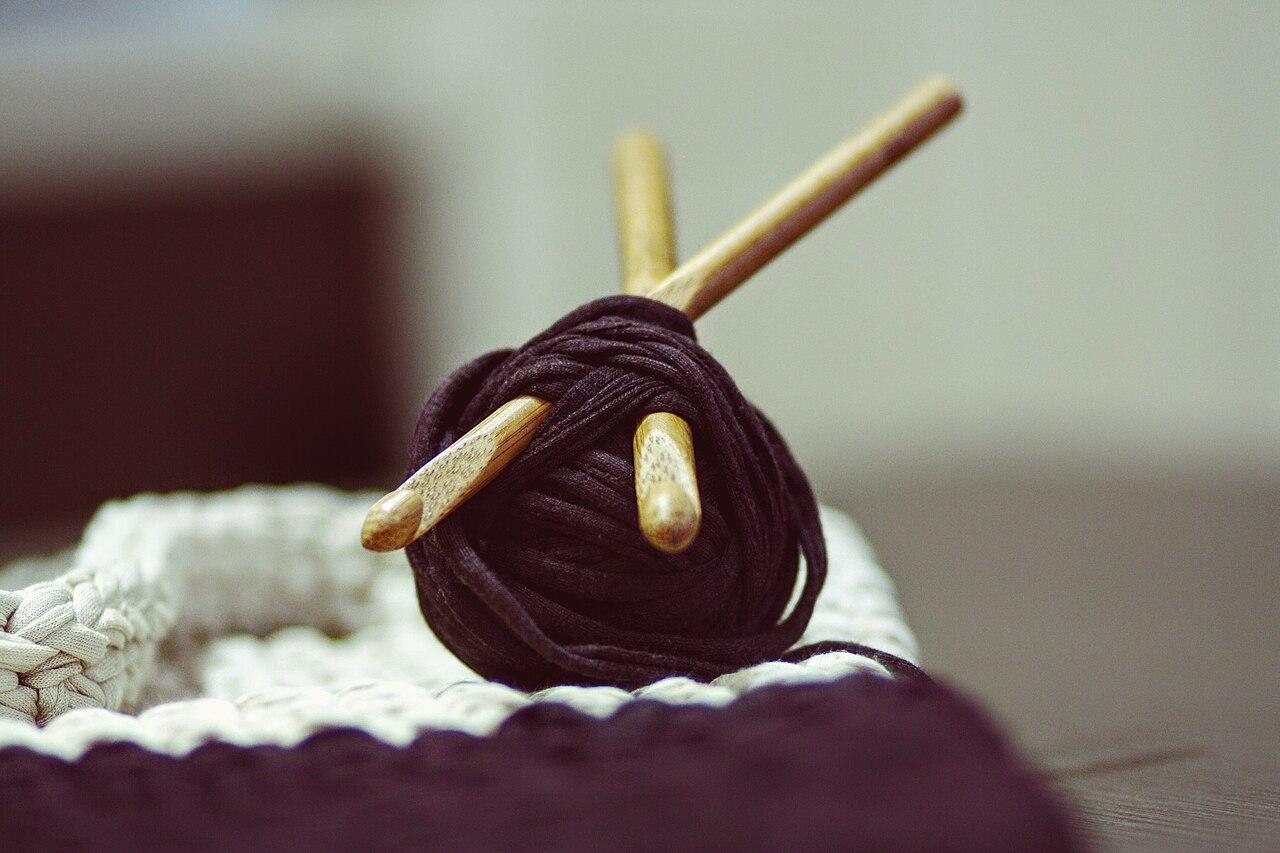
To learn how to knit, practice four actions: cast stitches onto a needle, make knit stitches, turn the work at the end of each row and bind off to secure the final edge. Knitting every row back and forth creates garter stitch, a ridged fabric that is useful for a first practice square.
Start small enough that you can count the stitches comfortably. A short swatch teaches the same basic motions as a long scarf while giving you faster feedback. This guide describes a conventional right-handed, right-hand-yarn approach; other knitting styles can produce the same fabric.


Choose yarn and needles you can see clearly
A smooth, light-colored medium-weight yarn is a practical starting point. Match the needles to the yarn label’s suggested size. The Craft Yarn Council’s yarn-weight chart lists medium yarn with a general knitting-needle range of 4.5–5.5 mm; the particular yarn and pattern can call for something different.
Use two straight needles or a circular needle suitable for working flat. Circular needles are connected by a flexible cable, but that does not require knitting in the round. For this first exercise, turn at each row end. Gather scissors, a blunt yarn needle and a removable marker before beginning.
Avoid choosing the first yarn only because its texture looks exciting. Very dark, fluffy or strongly textured yarn makes it harder to distinguish stitches from loose strands. Save the label so you can check fiber content, needle guidance and washing instructions when you finish.


Understand the working yarn and the live stitches
The working yarn leads back to the ball. The tail is the loose end left at the beginning. Make sure you are using the working yarn when forming stitches; knitting with the tail for several stitches is a common source of confusion at the start.
Each loop sitting on the needle is a live stitch. Keep the stitches a little back from the tip while you adjust your hands, then move only the next stitch into position. There is no need to push the entire row to the point where it can slide off.
Set yourself up with good light and enough space that the yarn can feed without catching. Support your arms comfortably and loosen your grip if you notice yourself squeezing the needles. Slow, repeatable movements are more useful than trying to match an experienced knitter’s speed.


Cast on a small practice row
A knitted cast-on is one starting option. Make a slip knot on the left needle; it counts as the first stitch. Insert the right needle into that loop as for a knit stitch, wrap the working yarn and draw a new loop through. Place the new loop on the left needle without dropping the original stitch. Repeat in the newest stitch until there are 12 loops. The Craft Yarn Council’s beginner lesson shows the hand positions.
Keep each loop loose enough to slide along the shaft. If the cast-on feels welded to the needle, undo it and try again with less tension. Pulling hard after every new loop usually makes the first row more difficult, not more secure.
Count the loops before starting the next step. For this exercise, the target is 12 stitches including the slip knot. There is no required finished width: the swatch is a place to learn the movement, and its size will vary with your materials and tension.


Make the knit stitch and complete a row
Hold the needle carrying the stitches in your left hand and keep the working yarn behind the work. Insert the right needle into the front of the first loop from left to right, wrap the yarn counterclockwise around the right tip as viewed toward the tip, and draw a new loop through. Let the old loop slide off the left needle while the new one stays on the right.
Unlike the cast-on, this step replaces one existing stitch with one new stitch. Continue across all 12 stitches. At the end, the left needle is empty and the right needle holds the completed row. Turn the work and put the filled needle into your left hand to begin again.
Use the linked diagrams if the wrap direction is difficult to picture from words. Work a few stitches, pause and check that each old loop has been replaced by one new loop. Avoid wrapping the yarn twice around the needle unless a future pattern specifically asks for that.


Build garter stitch and count regularly
Knit every stitch of every row for about 20 rows. As the fabric develops, ridges appear on both sides. Keep counting 12 stitches at the end of each row. The first few rows may look loose or irregular, but a stable stitch count gives you a useful foundation for improving tension.
If the piece gets wider, inspect the most recent row before continuing. You may have added a loop accidentally or worked into a strand that was not a stitch. If it gets narrower, look for an unworked or dropped loop. Stop and secure a loose loop with a marker rather than pulling on the fabric.
When you need a break, finish the row if practical and slide the stitches away from the needle tips. Use appropriate needle protectors if you have them. Write down the row count so you do not have to reconstruct it later. Keeping the project together also prevents an accidental needle-size change.


Bind off without tightening the edge
To finish a garter-stitch swatch, knit two stitches. Lift the older stitch over the newer one and off the right needle, leaving one loop there. Knit another stitch and repeat the lift-over action. Continue across the row. Leave a generous tail, cut the yarn and draw the tail through the final loop. The Craft Yarn Council’s finishing reference illustrates binding off and weaving in ends.
The edge should have enough ease to sit naturally with the rest of the fabric. If you pull each loop very tight, the final edge can draw inward. Work deliberately and inspect the first few bound-off stitches before finishing the whole row.
Thread each loose end through a blunt yarn needle and weave it into the fabric securely. Do not cut a tail flush beside the last loop. Follow the yarn label before washing or blocking, and avoid applying heat simply because another fiber tolerates it.


Learn gauge before making something that must fit
Gauge means the number of stitches and rows over a measured distance. The Craft Yarn Council’s explanation of gauge emphasizes matching the pattern when size matters. Two people can use the same yarn and needles and produce different dimensions because their tension differs.
Your 12-stitch learning swatch is not necessarily large enough for an accurate garment gauge check. For a real pattern, make the requested swatch, treat it as the finished project will be treated and measure an interior area rather than relying only on edge stitches. Record the needle size along with the result.
If the gauge does not match, follow the pattern’s guidance and make another swatch with an adjusted needle size. Do not assume you can compensate for an entire sweater by pulling the yarn tighter for a few rows. A consistent, comfortable technique is easier to maintain over a long project.
Choose the next skill deliberately
The Knitting & Crochet Guild’s learning resources cover purling, shaping and alternative cast-ons after the basics. Choose one new skill at a time. Learning to purl opens up many stitch patterns, while learning to read a simple pattern helps turn a swatch into a planned project.
A small garter-stitch scarf or similar flat item can be a reasonable next step, provided the pattern’s yarn quantity and dimensions suit your plans. Keep the first project manageable enough to finish. A completed simple piece teaches finishing and care as well as stitching.
If you are deciding between the two yarn crafts, our beginner crochet guide explains the hook-based approach. Both take practice. For knitting, a steady stitch count and a comfortable rhythm are more useful first milestones than speed.
Supplies for Your First Knitting Project
As an Amazon Associate I earn from qualifying purchases.


If you want your supplies in one box, the CraftLab beginner kit includes yarn, 5 mm straight needles, a yarn needle and instructions for a scarf. You can use the needles and yarn to practice the swatch above before starting the scarf. View the CraftLab knitting kit on Amazon.
If you already have needles, you can buy the rest separately. Look for smooth, light-colored yarn that matches the needle size on its label, plus a blunt yarn needle for weaving in the ends.
Leave a Reply